The Generic Node platform is designed to provide an easy way to get started with device development. It comes pre-programmed with a demo app. Please follow this section to learn how to claim your Generic Node device and start using it right away.
Note:
Generic Node Sensor Edition is currently in the production phase. If you don’t have one get yours at thethingsshop.com!Create a new account on The Things Stack Cloud
We have a dedicated The Things Stack Cloud tenant for the Generic Node. To access it, you may create a new account or sign in with The Things ID. You’re also free to use our community network or any other The Things Stack Cloud tenant for this purpose.
Select your region and create an application
Choose a network cluster for your region (EU in this example) and head over to the Applications tab. Create new application with a unique Application ID. Application name and Description are optional.
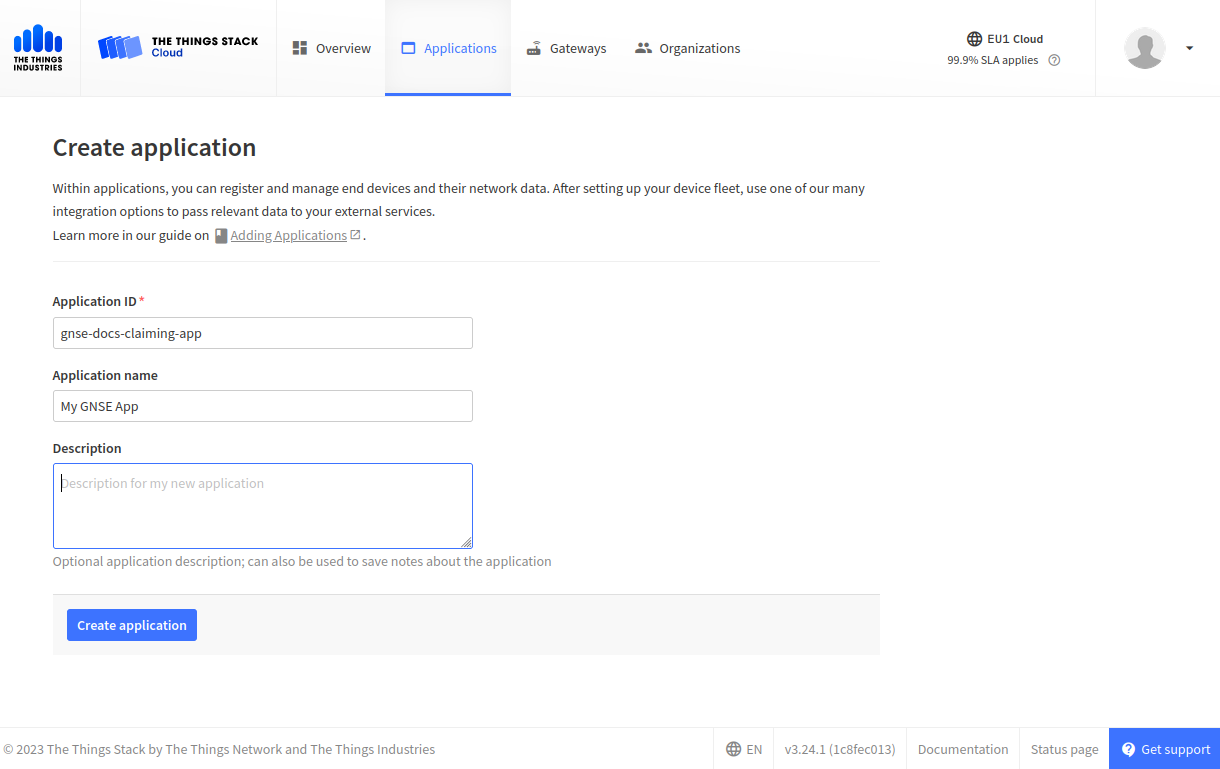
Once you have a test applicatin ready (like shown on the image below), you can proceed further to claim ownership over your device.
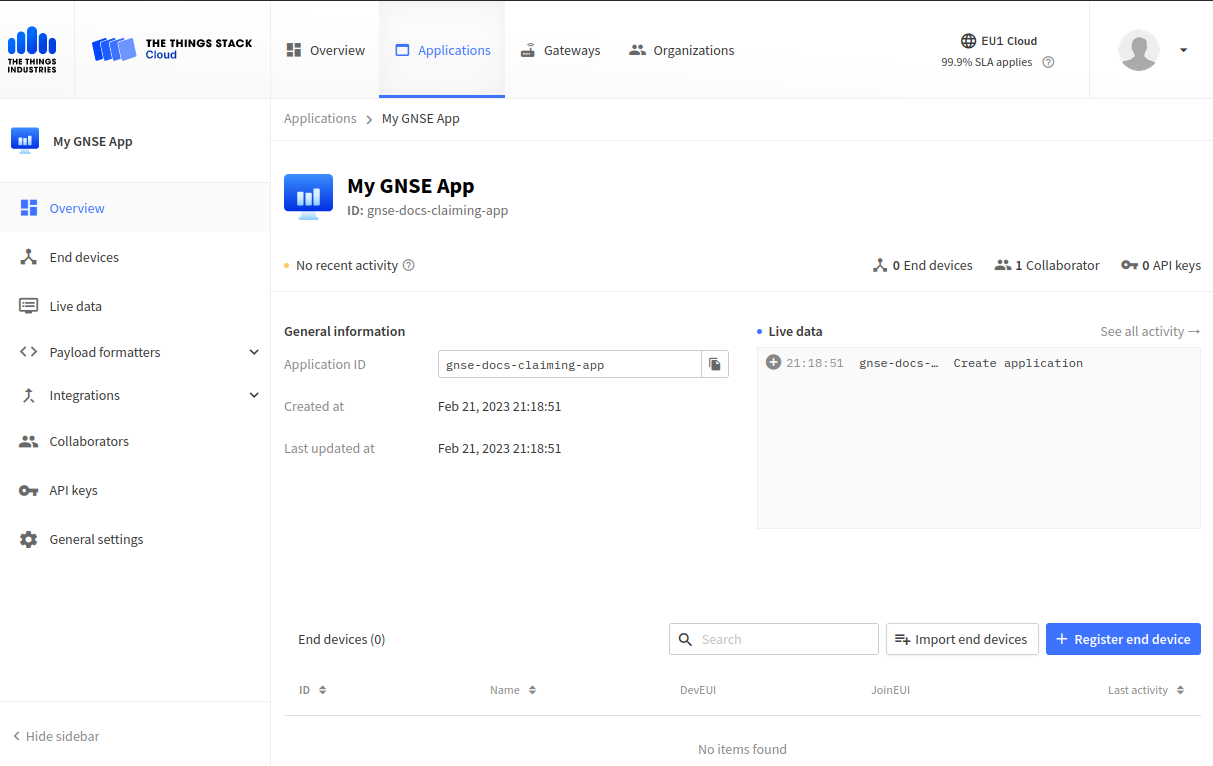
Claim your device ownership
Generic Node Sensor Edition comes factory pre-flashed with the vanilla app that uses the on-board secure element to join the LoRaWAN network using the OTAA.
In order to register your device and claim its ownership, you will have to provide information printed on the back of the device during its registration process.
In your The Things Stack application, click on the Register end device button to create a new device. To add a new device, you have a few options:
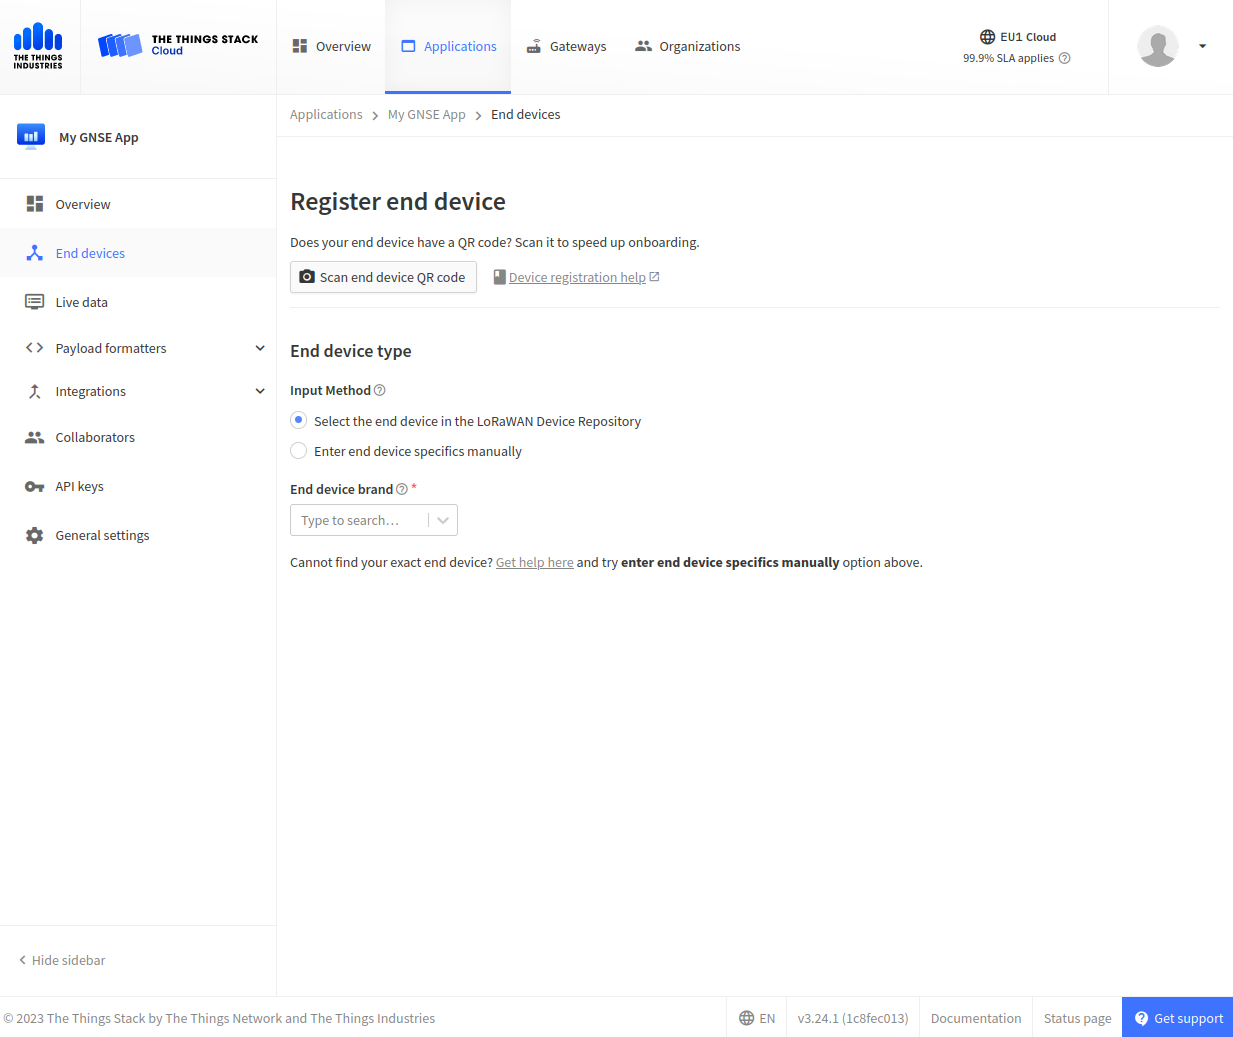
Since every Generic Node Sensor Edition comes with a QR code, this method is the easiest one and hence used in this guide.
Claim the device using its QR code
If your computer has a webcam then this is the most straightforward option. Just click on the Scan end device QR code button (with camera icon), select your webcam input and scan the back of your device. You may also use a smartphone to accomplish this.
Once the camera is in focus, the Console should be able to successfully scan the QR code and extract the required device credentials. Then, hit Apply to continue the registration process.

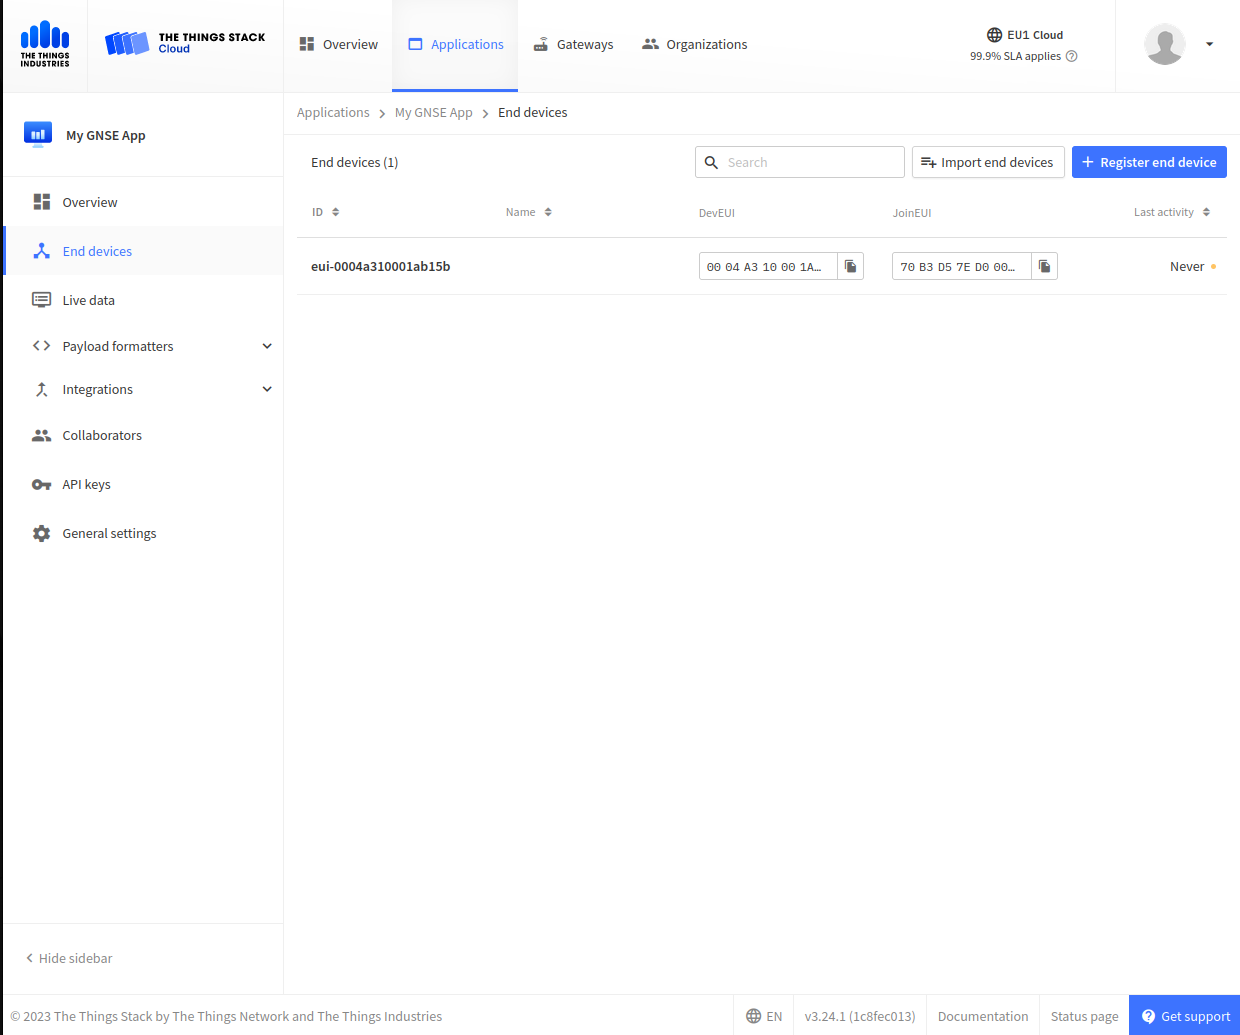
Generic Node Sensor Edition is already included in the LoRaWAN Device Repository, so you just enter the device brand, model, region profile and the frequency plan for your location (i.e. The Things Industries → Generic Node (Sensor Edition), EU_863_870 (SF9 for RX2 - recommended) and simply hit Register end device.

Congratulations! You have successfully registered your Generic Node Sensor Edition device.
Power up your device
After claiming, you can power up the device using two standard AA batteries, or using a small 3.7V LiPo/Li-ion battery with a standard JST PH 2.0 connector.
If the device powers up correctly, you will see the green LED briefly lighting up indicating a successful boot-up. Pressing the front user button also triggers a sensor sampling followed by an uplink.
Join the network
The device will automatically attempt to join LoRaWAN network using OTAA. Please make sure there’s The Things Stack coverage in your area.
When the device successfully joins, you will see some verbose activity and raw payload in the Live Data tab in your device’s overview page. If you are not able to understand the raw bytes, don’t panic! It’s because you still need to configure the payload formatter. Please copy-paste the following JavaScript formatter code below to the Payload formatters → Uplink section. You can configure a payload formatter on a device or on an application level.
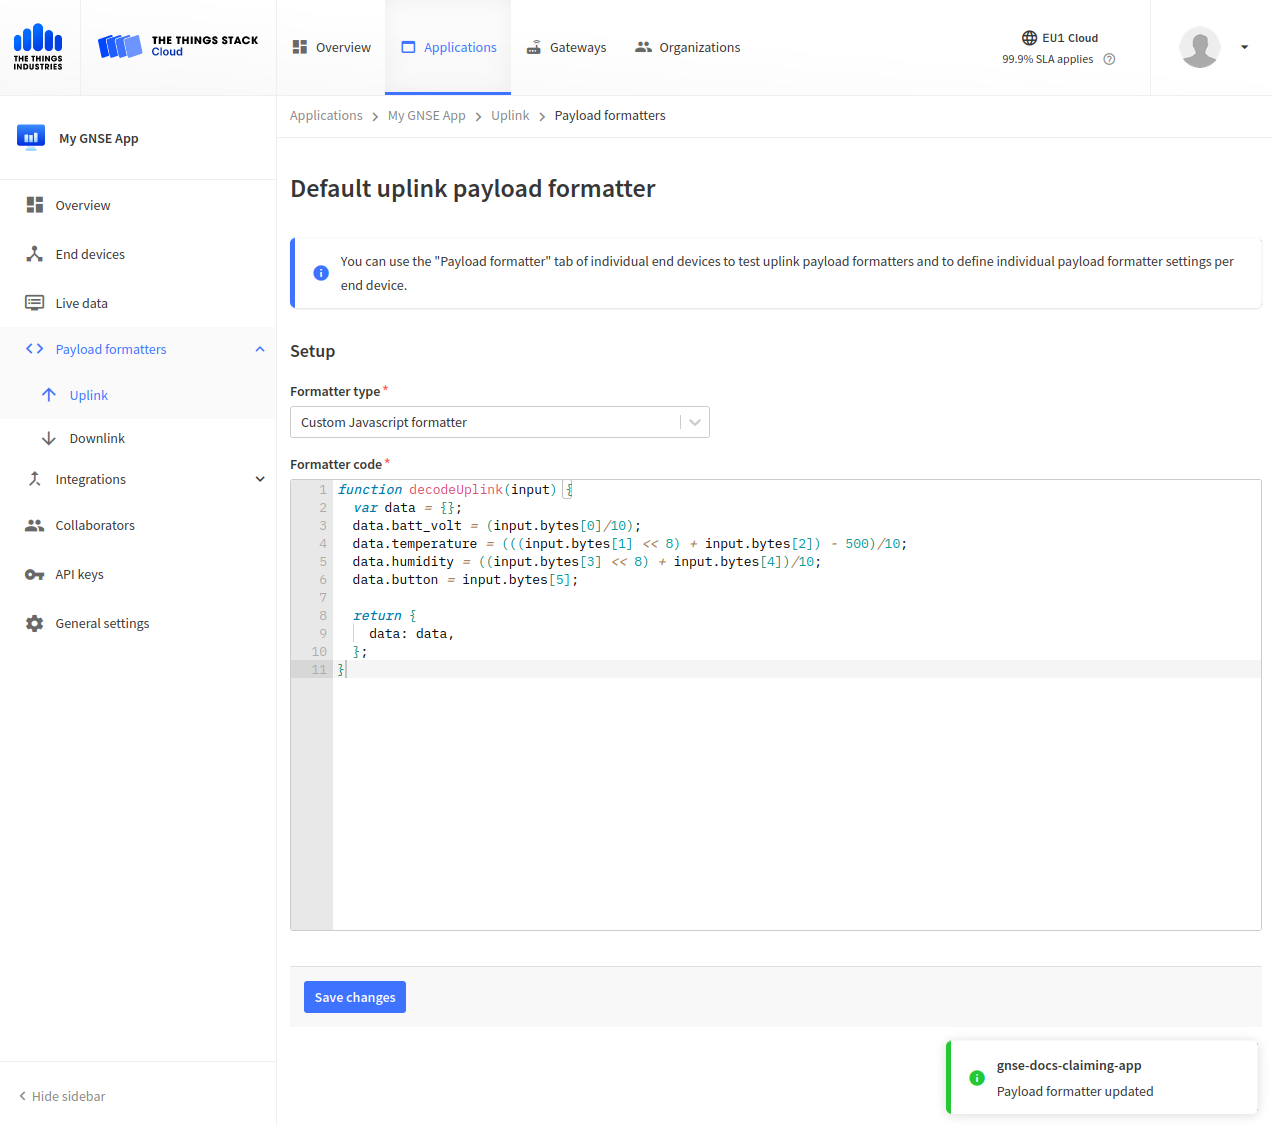
function decodeUplink(input) {
  var data = {};
  data.batt_volt = (input.bytes[0]/10);
  data.temperature = (((input.bytes[1] << 8) + input.bytes[2]) - 500)/10;
  data.humidity = ((input.bytes[3] << 8) + input.bytes[4])/10;
  data.button = input.bytes[5];

  return {
    data: data,
  };
}
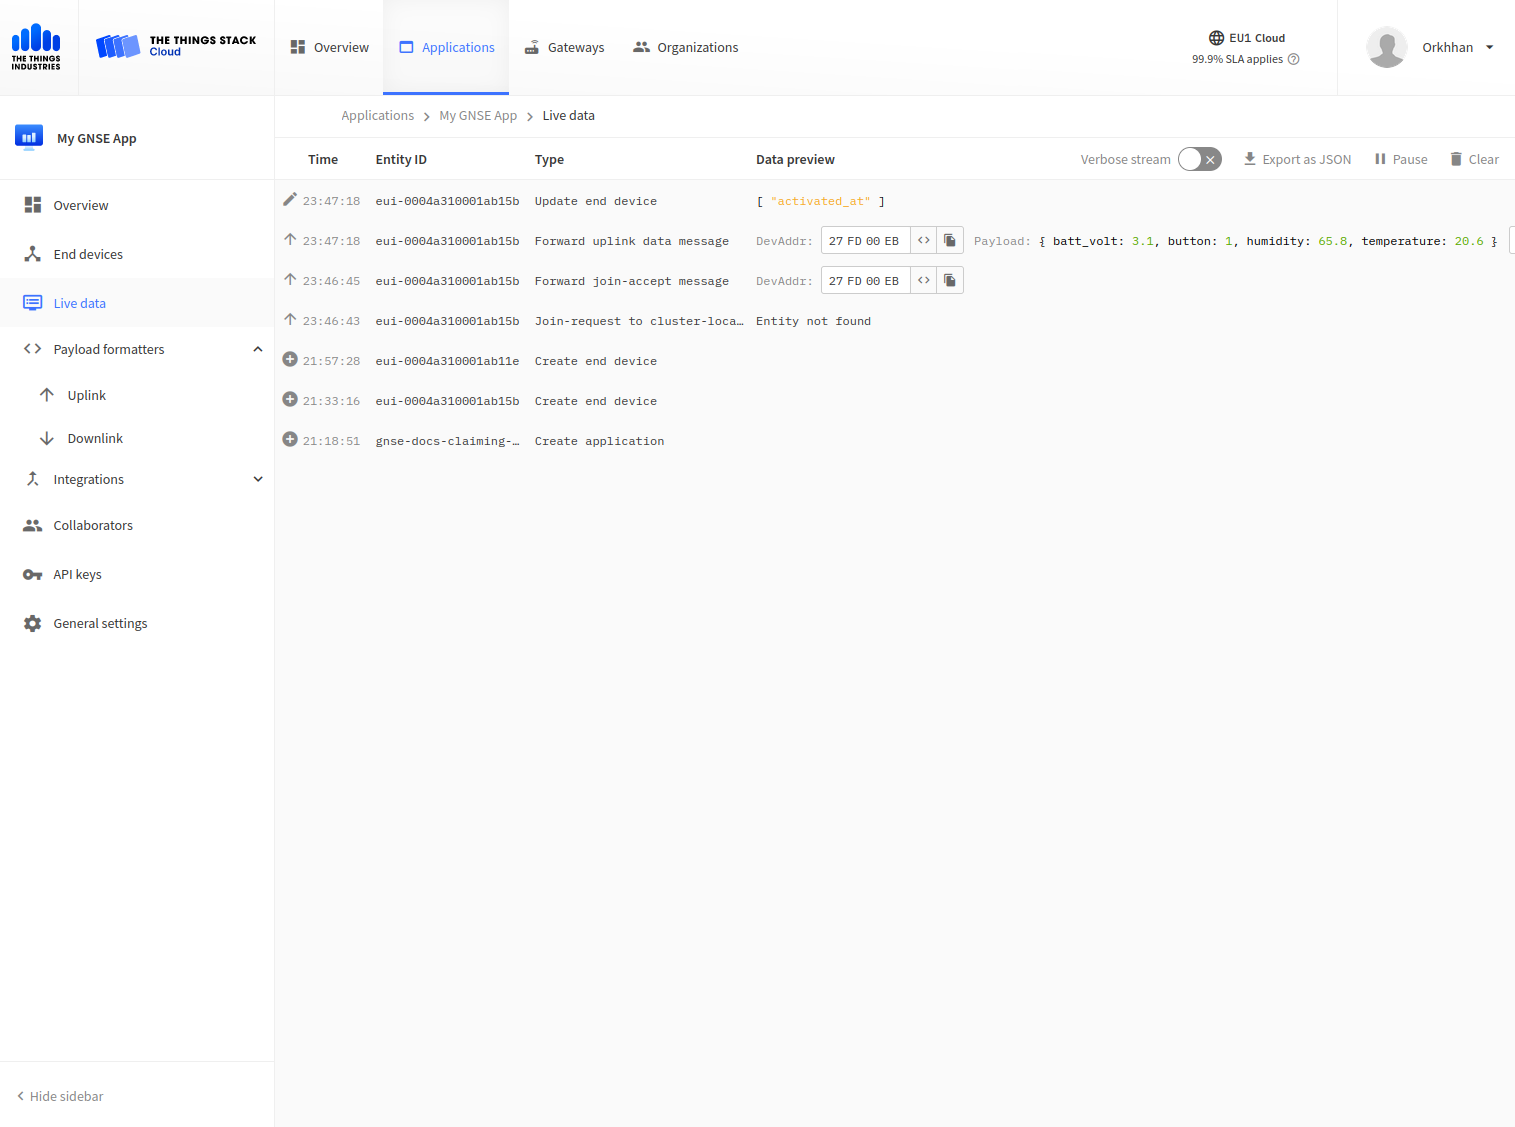
If everything goes well you should see incoming data packets formatted to a nicely readable form. Well done!
By default, devices are configured to transmit every 10 minutes. You’re free to change this by sending hexadecimal values in minutes as a downlink message to the device under Messaging → Downlink on FPort 1.
Please check out the Sensor Edition: vanilla application page to learn more about the uplink, downlinks and the overall firmware behaviour. If you have any questions or feedback please do not hesitate to post it in The Things Network forum or drop us a message on our Twitter channel @generic_node.